Today was the last day of school at Herrera. The last day for me is always so bittersweet. I am sad to see my 8th graders leave, but happy for them as they go to High School and start a new chapter in their lives. I will definitely miss the smiling faces I get to see every morning when I walk through the halls, but know there will be many more in my future. This year was truly amazing for myself and my students.
.JPG)
.JPG)
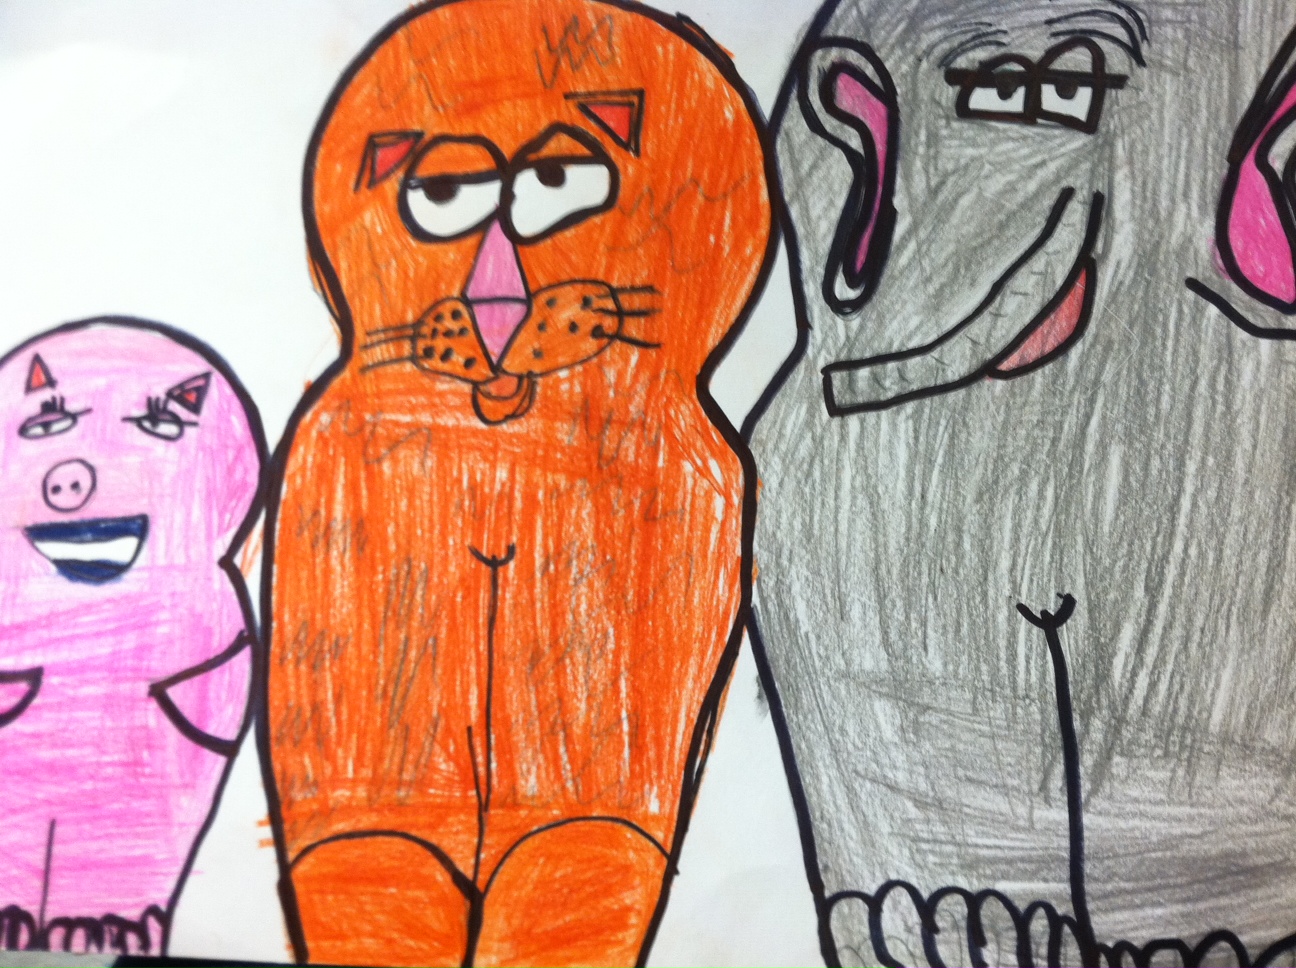
I have posting pictures all year about my art history timeline, and as the year ends, so does the timeline. Here are some pictures of the results. 4th and 5th graders started with cave art (where we painted with the lights off in our "art cave") and continued until the 20th century (impressionism). Junior high students started the timeline at the 20th century to contemporary art. During this year we painted under our tables like Michelangelo, splattered paint like Pollock, printed like Warhol and much much more. After each lesson, I chose one student's artwork to display on the timeline (for visual learners, like myself). I believe it is so important to learn about art history at a young age (on a personal note, my grandfather took me the Cleveland Art Museums every month for many years, which is why I am so passionate about art and art history). I cannot count the number of times students have ran up to me in the hallway to tell me how they saw the artwork we studied on their favorite show (many times on Family Guy or Simpsons), movie, commercial, clothing, etc. I am so proud of my students this year for all they have accomplished and learned.
.JPG)
.JPG)
 Today was the last day of school at Herrera. The last day for me is always so bittersweet. I am sad to see my 8th graders leave, but happy for them as they go to High School and start a new chapter in their lives. I will definitely miss the smiling faces I get to see every morning when I walk through the halls, but know there will be many more in my future. This year was truly amazing for myself and my students.
.JPG)
.JPG) I have posting pictures all year about my art history timeline, and as the year ends, so does the timeline. Here are some pictures of the results. 4th and 5th graders started with cave art (where we painted with the lights off in our "art cave") and continued until the 20th century (impressionism). Junior high students started the timeline at the 20th century to contemporary art. During this year we painted under our tables like Michelangelo, splattered paint like Pollock, printed like Warhol and much much more. After each lesson, I chose one student's artwork to display on the timeline (for visual learners, like myself). I believe it is so important to learn about art history at a young age (on a personal note, my grandfather took me the Cleveland Art Museums every month for many years, which is why I am so passionate about art and art history). I cannot count the number of times students have ran up to me in the hallway to tell me how they saw the artwork we studied on their favorite show (many times on Family Guy or Simpsons), movie, commercial, clothing, etc. I am so proud of my students this year for all they have accomplished and learned.
I have posting pictures all year about my art history timeline, and as the year ends, so does the timeline. Here are some pictures of the results. 4th and 5th graders started with cave art (where we painted with the lights off in our "art cave") and continued until the 20th century (impressionism). Junior high students started the timeline at the 20th century to contemporary art. During this year we painted under our tables like Michelangelo, splattered paint like Pollock, printed like Warhol and much much more. After each lesson, I chose one student's artwork to display on the timeline (for visual learners, like myself). I believe it is so important to learn about art history at a young age (on a personal note, my grandfather took me the Cleveland Art Museums every month for many years, which is why I am so passionate about art and art history). I cannot count the number of times students have ran up to me in the hallway to tell me how they saw the artwork we studied on their favorite show (many times on Family Guy or Simpsons), movie, commercial, clothing, etc. I am so proud of my students this year for all they have accomplished and learned. .JPG)
.JPG)