Every Wednesday we have "Super Special Wednesdays," which are days that we get selected classes for a longer time. This allows classroom teachers to meet for professional development. It also allows special area teachers to have some extra time with their classes. I like to use this time to create lessons that I would not have time for during the regular class time. This lesson, Tasty Color Wheels, is a perfect example of one of those lessons. We use white frosting, food coloring, and vanilla wafers for this project. I have found that wax paper works best to keep the tables clean. I remind students of a few things before we begin... they will get a chance to eat it at the end so please be patient and wait, only touch the food that you will eat, take turns mixing colors, and don't put too much food coloring (your teeth will be blue!!). Also, it is important that after you mix the primary colors (red, yellow,and blue) and you begin to mix the secondary colors (orange, green, and purple) that you only take a small amount of primary colors. For example, if you take all of the red and blue to make purple, you will not have any red left for orange or blue left for green. This is a wonderful lesson about the color wheel and color mixing, as well as so much fun!!!


 At first glance, the picture above looks as though it is an empty classroom, However... If you look closely you will see that my students are underneath the table!! You may be wondering WHY? Well, 4th and 5th graders have reached Michelangelo on our timeline! Michelangelo painted the ceiling of the Sistine Chapel. We had a long talk about what they thought about his artwork before we began. Most of they students liked it and thought that it was very realistic. Next, I told the students about how he painted it on top of scaffolding on his back for YEARS!! Then, I told them their assignment... We had to create a fall/ Halloween illustration under the tables!!! We used tape to stick the paper to the table and carpet squares on the floor (because we all know that the art room floor can be a glittery mess). We used crayons, instead of paint because I did not want students to get paint in their eyes or on their face. Students really enjoyed this project but were complaining how difficult it was to paint like Michelangelo. It was very difficult for students to draw like him, and some were getting discouraged that their pictures were not turning out how they wanted them to look. I told them that this project was more about the process than the product. I really wanted them to gain an appreciation for Michelangelo and his work. After we were through, I asked the students again what they thought of Michelangelo and his work, and instead of the students saying, "I like it," they all said something about the process, for example, "He must have been really strong!' or " I really appreciate how much work he put into his work!!"


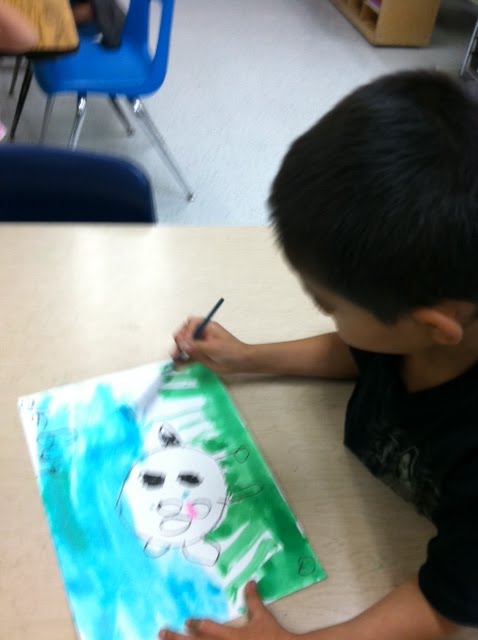
 4th and 5th graders are continuing on through our timeline and we have finally reached LEONARDO DA VINCI and his most famous artwork, the MONA LISA. We learned many interesting facts about her and the painting. (for example, did you know that originally Da Vinci painted her hair in a bun and later changed it to the way it is now?) We also made inferences on why she has that expression on her face. All of the students were amazed by the amount of detail and how he painted so realistically. After our discussion we decided to create a new environment for her... Mona Lisa with a Twist. I am continuously inspired and impressed by the creativity and imagination of kids. We had president Mona Lisa, Bridal Mona Lisa, DJ Mona Lisa, Fortune teller Mona Lisa, Sponge bob Mona Lisa, Dragon Mona Lisa and even an Angry birds Mona Lisa (just to name a few). Stay tuned for the next post about Michelangelo!!


